
265 posts
Latest Posts by alansohopis-blog - Page 4


I'm currently doing an online art school program and I thought I'd share some notes on clothing pieces for anyone else whose like me and for some reason can't understand objects with free from lol I hope you find some of these observations/ notes useful for any of your art journeys!


Clothes and Folds Tutorial by fakhear
Support the artist and visit their Etsy!

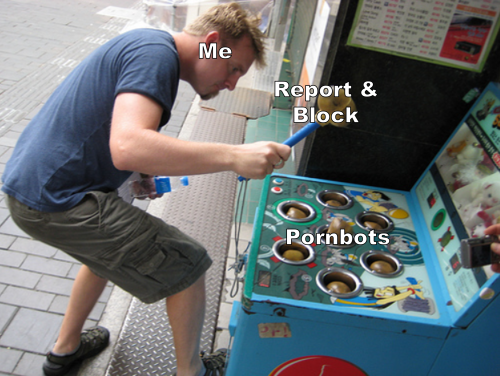
This is the most adorable non-bot blank blog I’ve ever seen. People, this is all you need to do to let us know you’re a human if you’re confused.
Season of Humanity promotion art!

Other seasons: Amazing cosmetics, deep and interesting lore
Season of Humanity:


doodled my sky kid :-)

i even got a little backstory for them!! (screenshot bc im a lazy little guy ehehe)

and speaking of sky, ive officially played it for over a year now!! :D


They were absolutely design by her, look at the gender in them

Time to get cozy!! 🧵✂✨
--
photoshop
I have nothing to post here so have a good day


She regrets nothing.
Please check out Crow Time for more immaculate bird vibes.

“Don’t impose a contrary image on me.”
Some Quick Character Tips
Here are a handful of quick tips to help you write believable characters!
1. A character’s arc doesn’t need to grow linearly. Your protagonist doesn’t have to go from being weak to strong, shy to confident, or novice to professional in one straight line. It’s more realistic if they mess up their progress on the way and even decline a bit before reaching their goal.
2. Their past affects their present. Make their backstory matter by having their past events shape them into who they are. Growing up with strict parents might lead to a sneaky character, and a bad car accident might leave them fearful of driving.
3. Give reoccurring side characters something that makes them easily recognizable. This could be a scar, a unique hairstyle, an accent, or a location they’re always found at, etc.
4. Make sure their dialogue matches their personality. To make your characters more believable in conversation, give them speech patterns. Does the shy character mumble too low for anyone to ever hear, does the nervous one pace around and make everyone else on edge?
5. Make your characters unpredictable. Real people do unexpected things all the time, and this can make life more exciting. The strict, straight-A student who decides to drink at a party. The pristine princess who likes to visit the muddy farm animals. When character’s decide to do things spontaneously or in the heat of the moment, it can create amazing twists and turns.
6. Give even your minor character’s a motive. This isn’t to say that all your characters need deep, intricate motives. However, every character should need or want something, and their actions should reflect that. What’s the motive behind a side character who follows your protagonist on their adventure? Perhaps they’ve always had dreams of leaving their small village or they want to protect your protagonist because of secret feelings.
Instagram: coffeebeanwriting

everyone say thank you greta

bowtie birds


clickbait sports thumbnails might be the funniest thing in the entire world to me
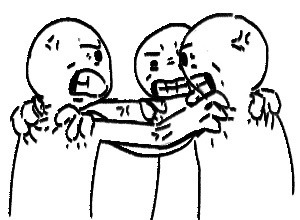


made some versions of the agony grip for my friends for when the whole gang gets it . including different levels depending on the anguish

and a joyous one for when there is love abound
Well, you're screwed Brandi


All covers for Houseki no Kuni.
1巻から12巻まで
Y’all, I present you…

Them ✨✨✨
I can relate
What the past couple days have felt like


our next skirt restock is in 70 minutes! the designs we’ll have the most inventory of are:
desert sunset, bluebonnets, tea, crystal cluster, whales, bee, @sergle’s peonies, @riibrego’s strawberries, and sergle’s celestial sun
but i think we’ll have some other designs too
store.mayakern.com


Comic about what Amity told Hunter in Eclipse Lake


AAAAALLL of my HnK OCs! (Theres 20 of them!!) I adore them so much - These were drawn this summer (2022)
In order of images (and left-to-right) I have: Selenite (She/Her), Citrine (He/Him), Erythrite (They/He), and Onyx(They/He)
Dioptase (They/Them), Calcite (They/He), Proustite (He/She), and Brookite (They/She)
Kutnohorite (She/Her), Rhodochrosite (They/Them), and Scorodite (They/She)
Tanzanite (They/Them), Afghanite (They/Them), Black Opal (They/Them), and Clinohumite (They/She)
Blue Diamond (They/Them) - They're by themself because I drew them last ^^;;
Labradorite (They/She/He), Vivianite (He/They), Uvarovite (They/Them), and finally, Taaffeite (She/They)

i made a big clodsire plush


Receding objects in perspective.
Have you ever been trying to draw tiles on a wall or on the floor in perspective, but notice that after you’ve drawn them, they don’t look like they’re all the same shape or size? Well here’s a tutorial on how to fix that. Your picture probably looks like this, right?

Well, i’m here to tell you how to fix that…Let’s start out with your basics.

The gray line is the horizon line, and the black dot is your horizon line. These are essential for the first steps of perspective. Without these, your perspective may turn out wonky and just not flattering to the eyes. Right now we’ll work in One point perspective.

Now let’s pretend we’ll be drawing a hallway. Draw a vertical line where the edge of the wall is.

Now, from the tips of the bottom and top of your wall, you’re going to need to draw a line extending all the way to the vanishing point. If you’re working in photoshop you could either use the line tool, or shift+click. If traditional, you’ll need to use a ruler.

Now that we have the wall that’s in perspective, it’s time to draw the rest of the lines. here I’ve drawn the wall facing us that’s closest, the ceiling, the floor line, and the end of the hallway. ASSUMING that you are working in one point perspective, all vertical lines are straight and parallel to each other, and all horizontal lines are straight and parallel to each other.

Now here I have erased the lines that extended beyond the back wall, and found the center point of the edge of the left wall. From there, you draw an extended line just as before towards your vanishing point.

now make a vertical line where your first “tile” is.

now this may be a little hard to explain. Now you’re going to draw a line coming from the corner of the wall, through the corner where your line meets the tile you just drew, and all the way to the ground line.

You see where these two lines meet? you’re going to draw a vertical line to the ceiling from here.

Like so!

Now rinse and repeat! you should have perfectly even spaced tiles now! And if you have tiles on the ceiling

Just draw horizontal lines connecting to the vertical lines!

Now just erase anyhing you don’t need and…viola! Perfect tiles in perspective!! I hope this helps!! :D


pay attention, idiot
Bonus:

recruitment! (sad attempt at flirting)

たべたいよう

collecting stars